
In the meanwhile, I did some more little projects over the
past few weeks to glam up my walls. The first was to find another home for the
big ivy plant I brought home awhile ago and have been dividing up and
repotting.
I didn’t have any more pots, and I didn’t have a plant
holder for the wall. What I did have was a peanut butter jar, an old picture
frame, and the enthusiasm of an 18th-century mod girl.
Basically I layered scrapbook paper against alternately-painted frames to make some nice contrast. Then I took picture wire and wrapped
it around the peanut butter jar, then twisted the ends together into a long pointy
rope. Next I poked a hole through the scrapbook paper/picture background, stuck
the wire rope through it, then unwound it enough to flatten both ends against
the back of the frame in opposite directions. I dabbed a thin layer of clear
glue around the wire holding up the peanut butter jar even though it felt pretty
sturdy, and I taped down the flattened wire on the back of the frame to hold it
in place.


Pretty crafty! If you recall from my other Petite Projects post, I used the same Rococo-style scrapbook paper for the
background. This type of repurposed plant holder probably isn’t something you’d
commonly find from the 18th century, but I loved finding another
purpose for that scrapbook paper, and it’s just so sweet up on my wall!
This next project was with a Rococo-style swirly resin wall
piece that I’ve had my eye on for awhile at Hobby Lobby. I finally sprung for
it this week when it was half-off (I and the sales assistant who helped me
agreed that paying full price for anything makes one feel sad) and got to work.
This job is pretty simple. You need the basic team on your
side:
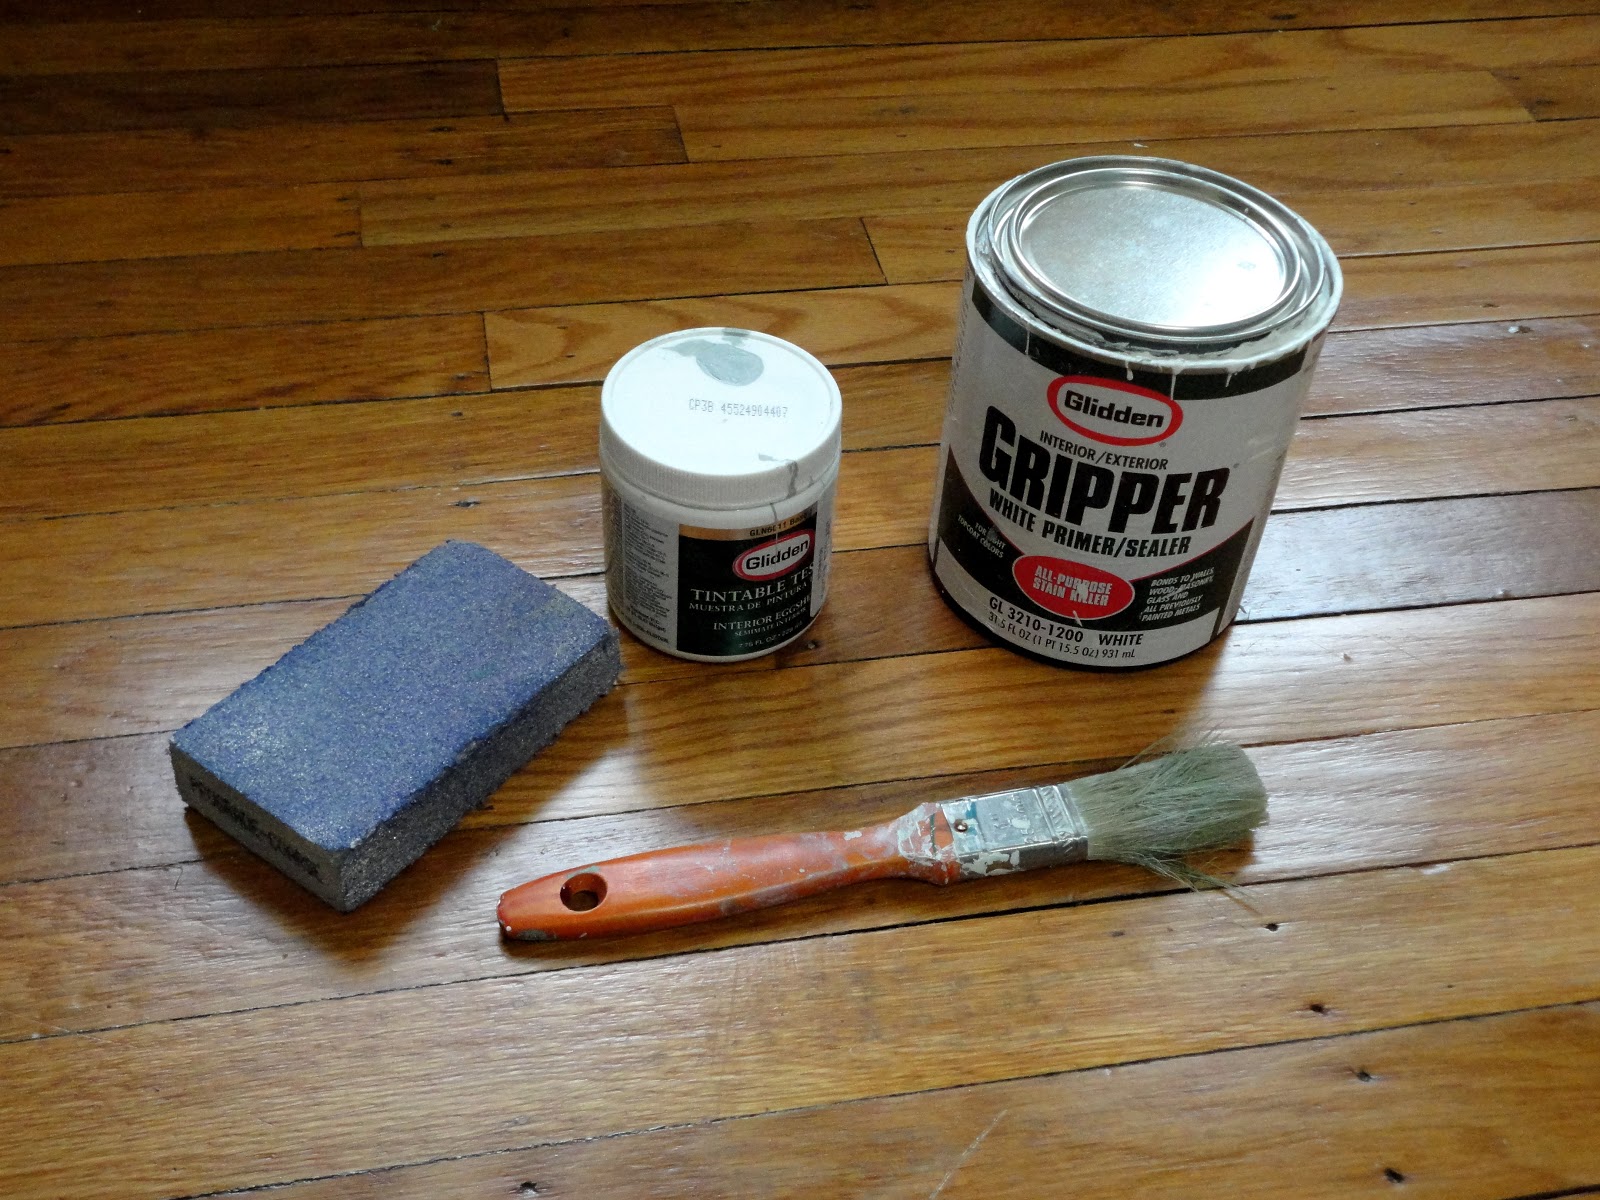
- primer
- paint of your choice
- a 1-inch paintbrush, or smaller, if you are more dedicated than me
- medium-grade or course-grade sanding sponge
Prime the piece, allow it time to dry, then paint and allow
that to dry. The main challenge to painting such a swirly fanciness is that
there are so many freaking crevices to get the paint into. I said I used a
1-inch brush but you could use a smaller brush if you want to paint more
carefully—since I knew I would be distressing the piece after painting anyway, I
wasn’t quite so concerned if I painted it perfectly.

This is why I love shabby-chic. It’s supposed to look like
it’s 250 years old or whatever, so who cares if you fudged that weird corner! It’s
supposed to look like George
Washington wrote the Constitution on it.


Enjoy and stay tuned for new 18th-century-themed
things for spring!
No comments:
Post a Comment